
Kitchen protective film, made to measure
Protect kitchen fronts and suitable smooth kitchen surfaces from typical signs of use – each surface measured individually, cut to fit.
- Kitchen fronts & suitable surfaces
- Cut to your dimensions
- Clear, Premium Clear or Matte
Delivery in 2–4 working days · plus shipping €5.99, free from €55.00
Example: Kitchen front 60 × 72 cm · from €43.20 · Premium Clear, cut it yourself
Each front is measured and configured individually – identical fronts as a quantity. How a whole kitchen project works.
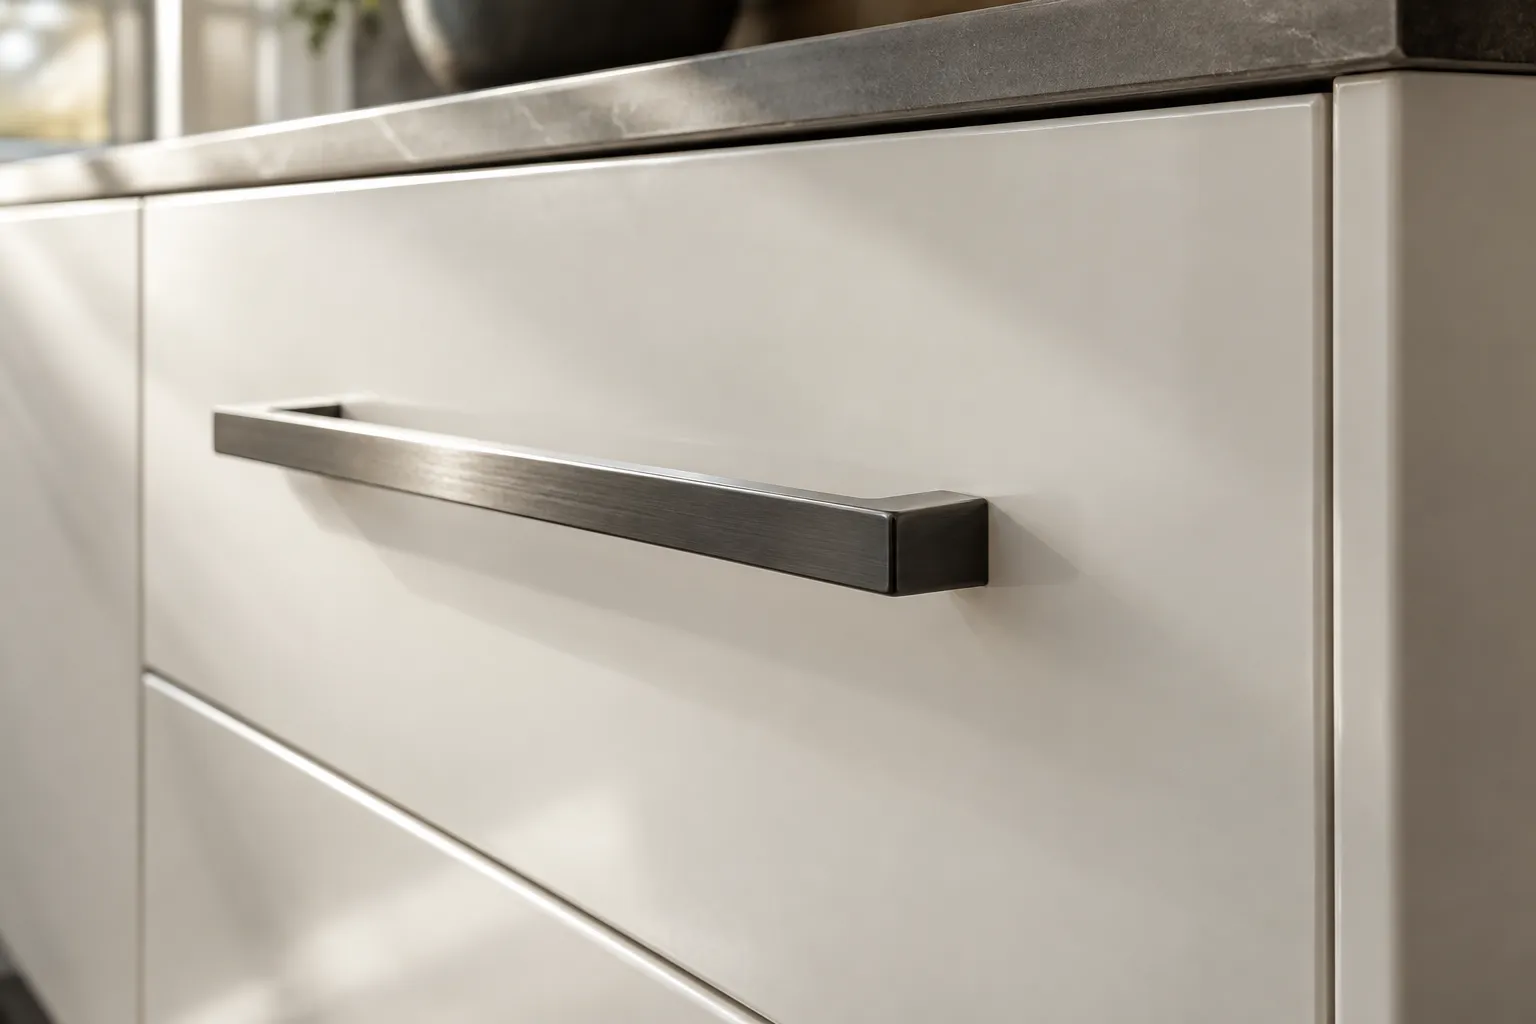
The sound of the kitchen
Pot, glass, pan – every knock hits the worktop. With the film, it stays unmarked.
Which kitchen surfaces can I protect?
Specifically the surfaces that take a lot and are suitable for it – not every surface in a kitchen. Each surface is its own cut in its dimensions.
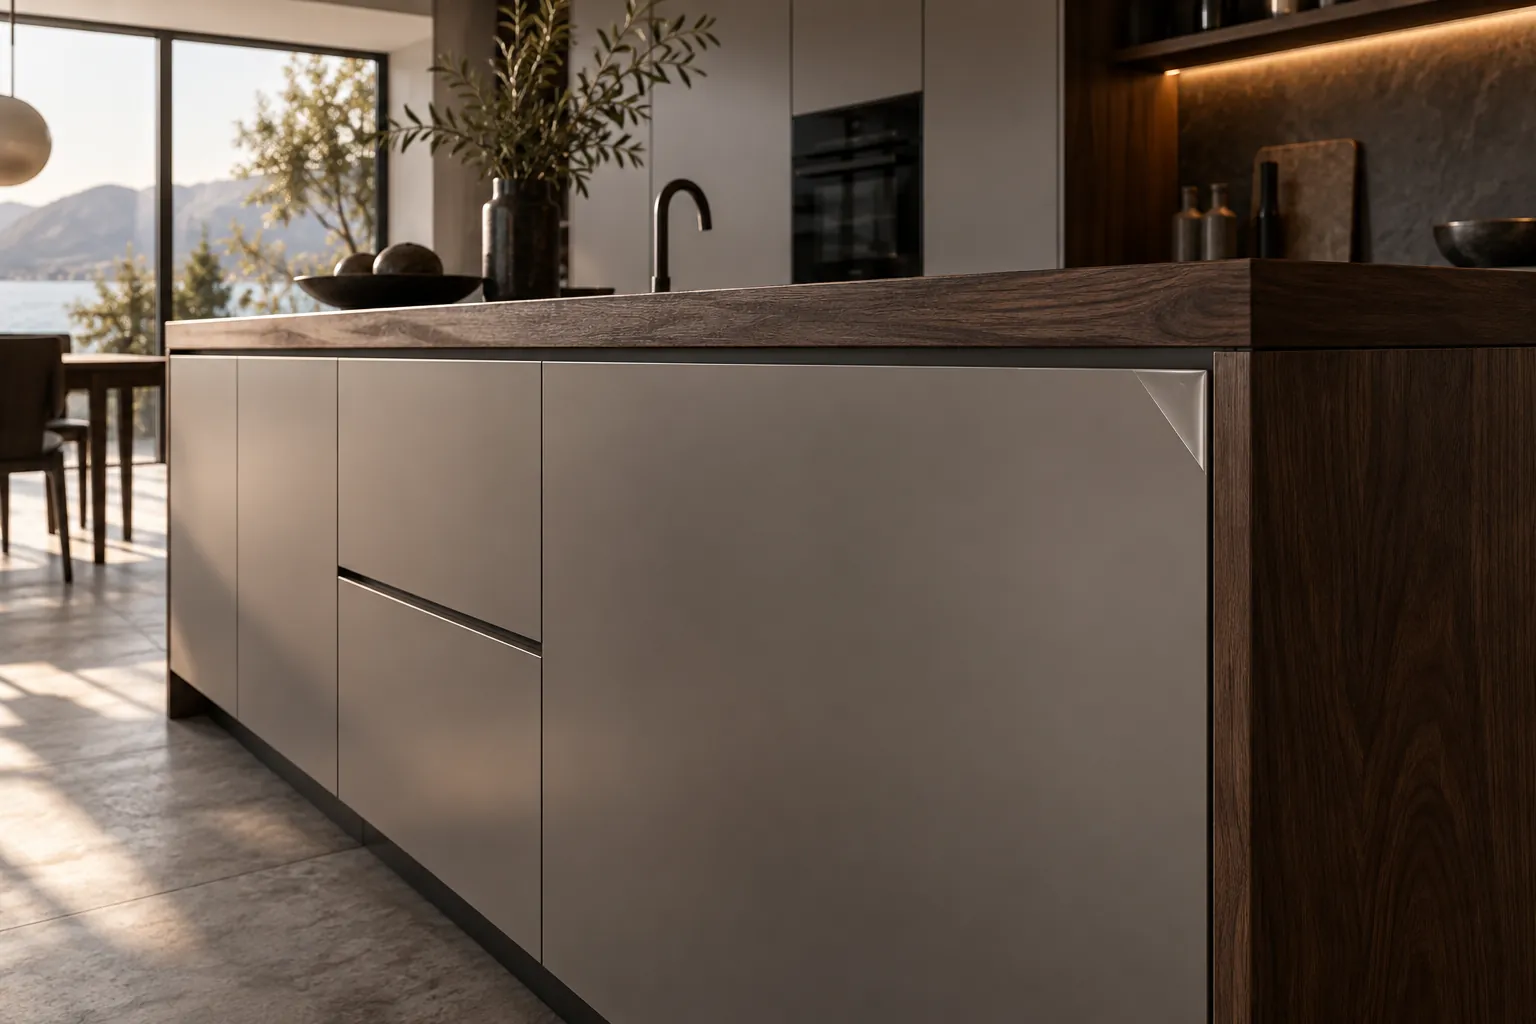 The film edge at the corner of the front
Main application
Kitchen fronts
The main application: cabinet and drawer fronts that are touched every day. On smooth, coated or painted fronts the film lies flat and changes neither colour nor texture.
One rectangle per front: width × height at the outer edge.
Single front, several fronts, front with handle or rounded corners – you measure exactly this front and order it in its dimensions.
Side panels
Large smooth surfaces at the end of a run or on the island – where chair backs, bags and the vacuum cleaner knock against them.
One rectangle: width × height of the panel.
Open in the configurator →
Handle areas
Most marks sit around handles and handle rails. The film covers the whole front; you cut around surface-mounted handles on site, recessed grips work as a free form with a template.
Measure the whole front – the handle is cut out, not subtracted.
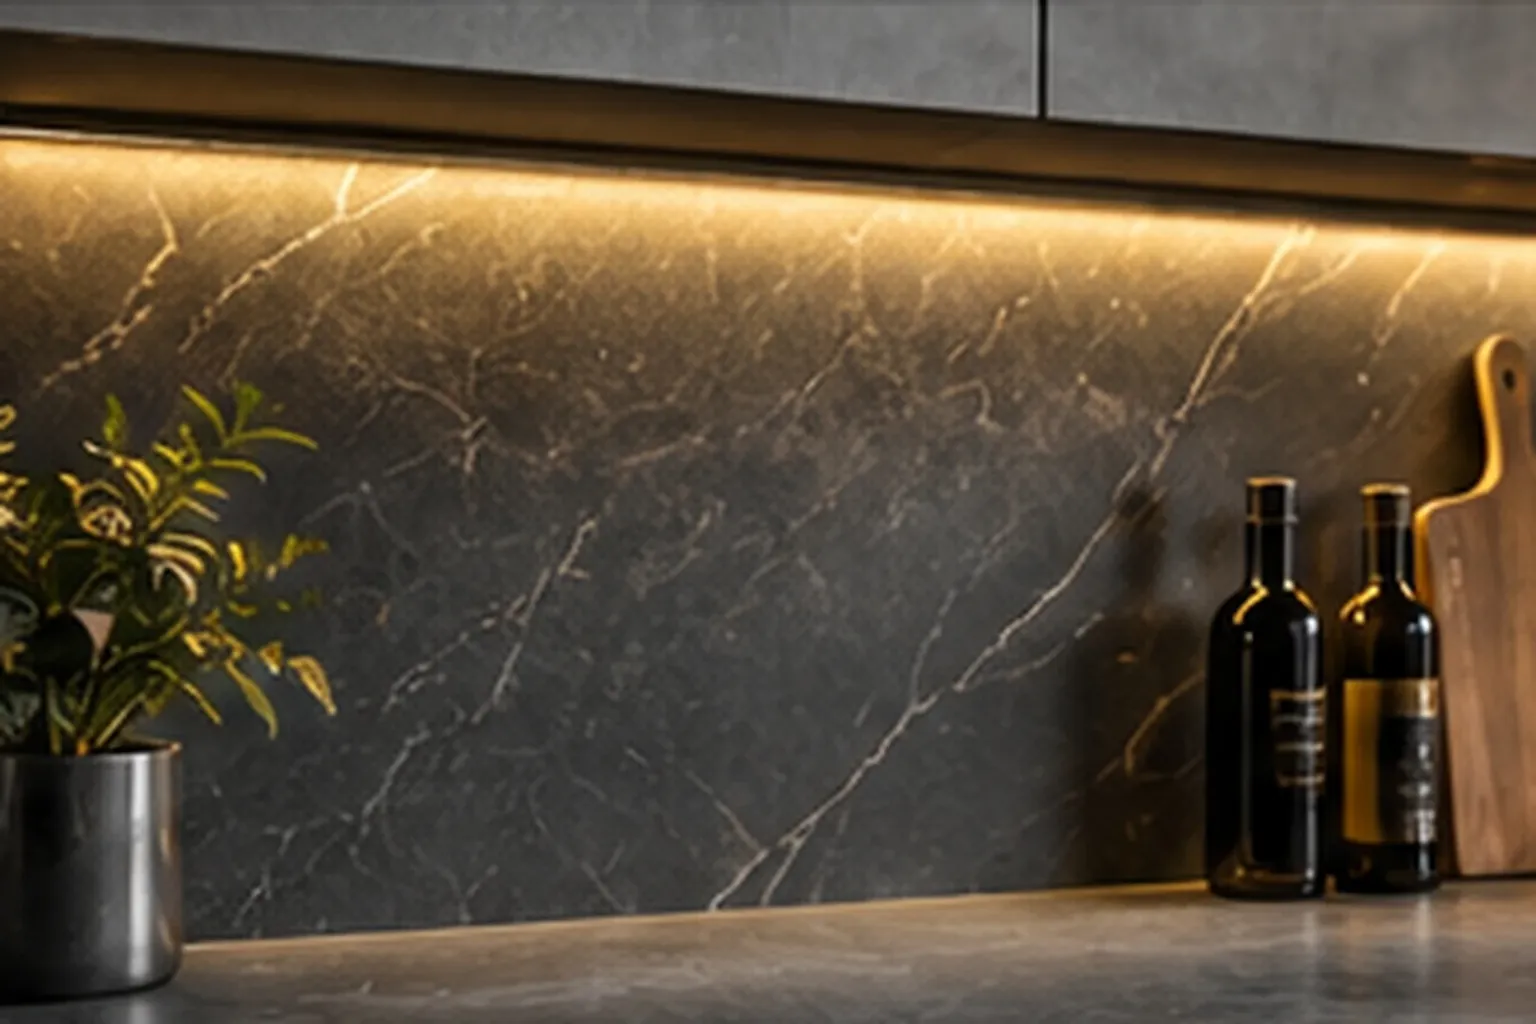
Kitchen splashback and tiled wall
Glass and ceramics between worktop and wall cabinet are suitable – clean them free of grease, then the film lies flat.
One rectangle between worktop and wall cabinet; sockets as cut-outs.
Open in the configurator →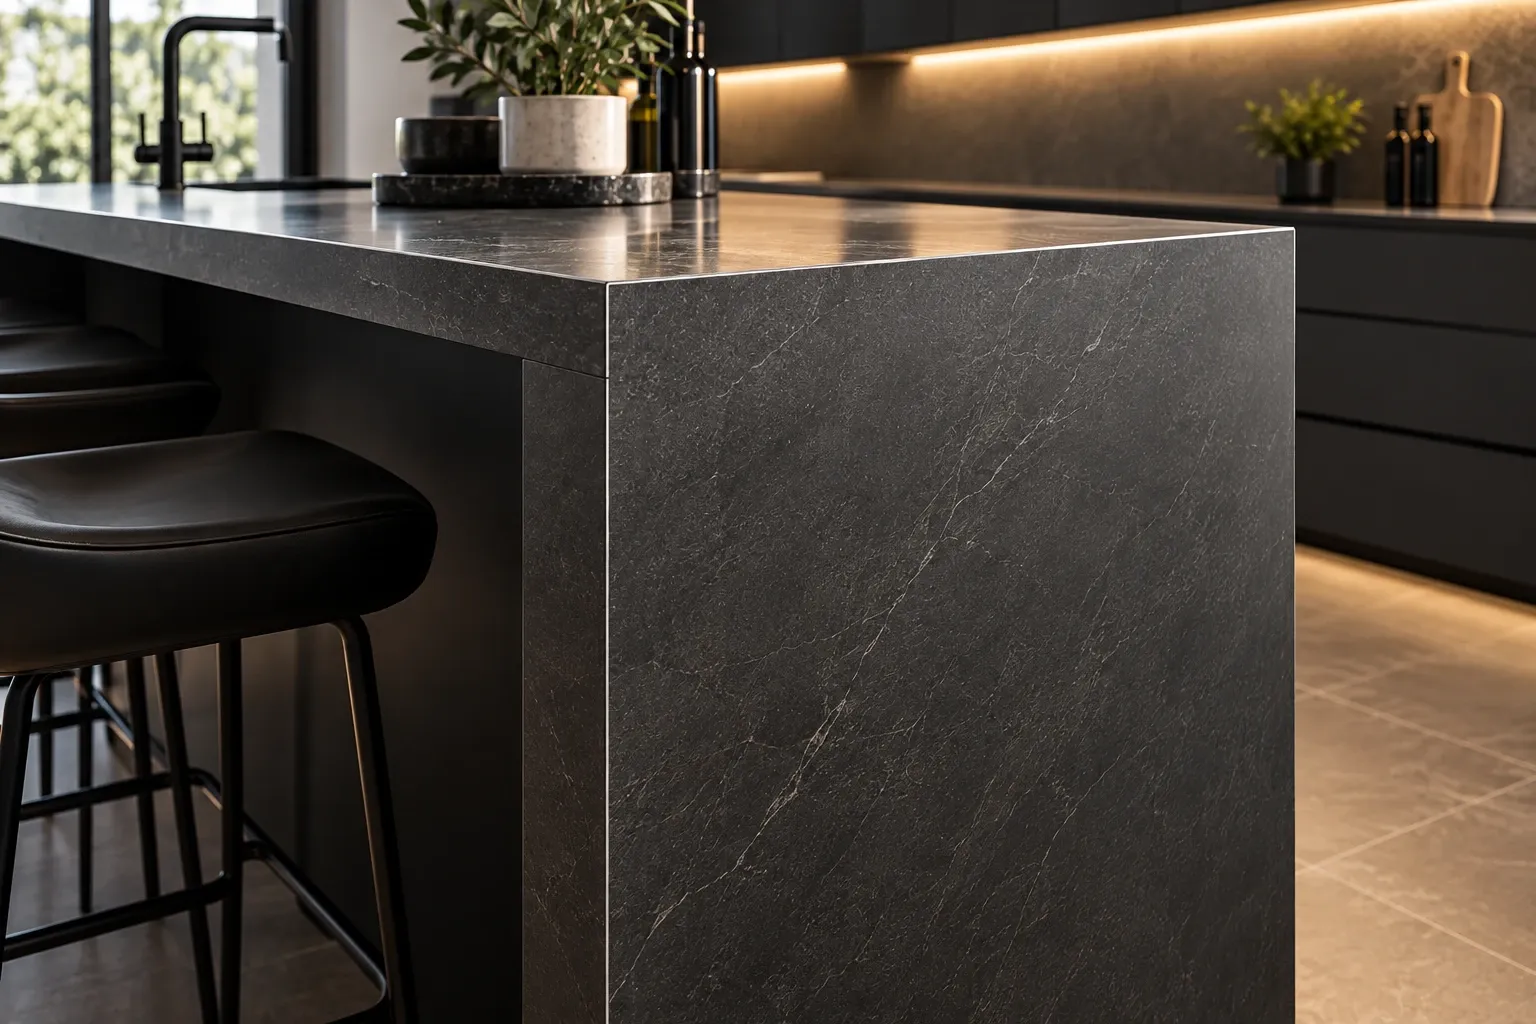
Island and furniture surfaces
Suitable smooth surfaces on the kitchen island, sideboard or bar panel – the same film, the same dimensions.
One rectangle per surface, the shorter edge at most the roll width.
Open in the configurator →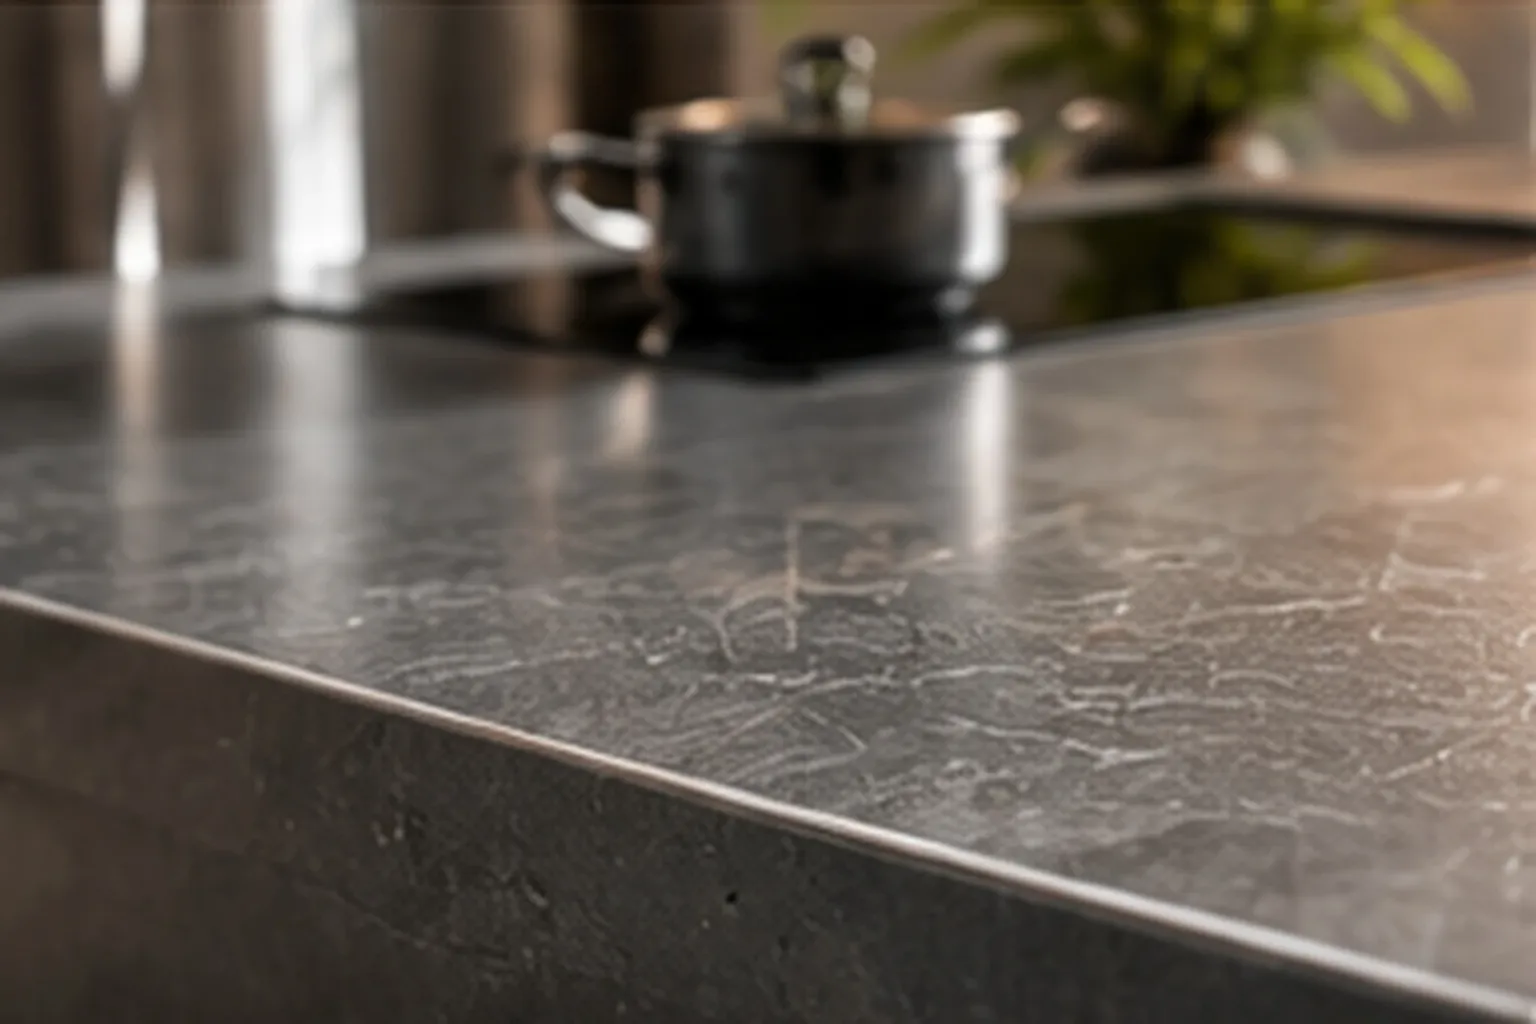
Worktop – only under conditions
Only on suitable, sealed worktops (laminate, glass, ceramics) and only as protection against signs of use: no heat protection, do not cut on it. Oiled wooden worktops are not suitable.
Depth × length of the worktop, for corner worktops one piece per leg.
Read the conditions
Clear or Premium Clear in the kitchen?
Both are transparent and do not change the front. The difference is what the surface has to withstand.
Clear
€69.00 / m²Transparent everyday protection – and the lowest price per square metre when many fronts are covered.
Good for
- normally used fronts
- side panels and trims
- less used cabinets
Premium Clear
€100.00 / m²Thicker carrier layer, fine scratches disappear again – for surfaces that are used hard every day.
Good for
- frequently touched fronts at the hob and at the sink
- the top drawer and handle areas
- suitable worktops and splashbacks
Matte – if you want a matte finish
Takes away gloss and reflections, fingerprints are less noticeable. On matte fronts the look stays matte; on glossy fronts it changes the look visibly – not invisible protection.
View MatteHigh Gloss – only if you want high gloss
For piano lacquer and high-gloss fronts, when depth and gloss should deliberately remain. For normal protection in the kitchen, Clear or Premium Clear are the choice.
View High GlossHigh-gloss kitchen: scratches and fingerprints
On high-gloss fronts, fine scratches and fingerprints are the first things you see. The film takes the signs of use instead of the front – which one fits depends on whether the gloss should stay and how often the front is touched.
- Premium Clear
- Gloss of the frontCrystal clear and glossy – suits a high-gloss front.
- Fine scratchesFine scratches disappear again, deeper marks remain.
- FingerprintsVisible as on the front itself – wipe dry with a soft cloth.
- Clear
- Gloss of the frontCrystal clear and glossy – suits a high-gloss front.
- Fine scratchesFine scratches stay visible on the film.
- FingerprintsVisible as on the front itself – wipe dry with a soft cloth.
- High Gloss
- Gloss of the frontDepth and gloss of the front are preserved – the thickest film, the highest price per square metre.
- Fine scratchesFine scratches disappear again, deeper marks remain.
- FingerprintsShow more on high gloss than on the Matte – wipe dry.
- Matte
- Gloss of the frontTakes away the gloss: on high gloss it is visible, the front looks matte.
- Fine scratchesFine scratches stay visible on the film.
- FingerprintsShow less on the matte surface – they do not disappear completely.
The gloss should stay
Premium Clear for fronts that are touched every day, Clear for the rest. High Gloss only for individual lacquered fronts whose depth matters – for the whole kitchen usually more than is needed.
Configure with Premium ClearFingerprints bother you more than the gloss
Matte – but then the front becomes matte. That is a decision about the look; check it beforehand with the sample set on your front.
View the sample setCare as for the front: soft cloth, water, mild cleaner. No abrasives, no rough pads, no blades.
How to measure kitchen fronts
Width and height in centimetres, accurate to one millimetre – the corner radius in millimetres, just as the configurator expects them. Each front individually: two seemingly identical fronts often differ by a few millimetres.
Rectangular front
Width × height
Width and height of the front at the outer edge, in centimetres and accurate to one millimetre – two seemingly identical fronts often differ by a few millimetres. In the configurator the height is the “Length” field.
Open the shape in the configuratorFront with rounded corners
Width × height + corner radius
Plus the corner radius in millimetres: mentally extend the straight edges to the corner point and measure from there to where the rounding begins. A coin or a glass helps to compare – all four corners the same.
Open the shape in the configuratorFront with recessed grip or cut-out
Enclosing rectangle + template
Enter width and height of the whole front and upload the contour with the cut-out as a template – with “Exactly to size” we cut it exactly like that. Or “Cut it yourself”: film over the whole front, cut-out on site with the cutter.
Open the shape in the configuratorWhere the film edge sits
Flush or 2–3 mm behind the edge
The edge of the film sits at the edge of the front – or two to three millimetres behind it, then it is even less noticeable and the edge of the front stays free. With “Exactly to size” your dimensions are the final dimensions; with “Cut it yourself” an allowance of one centimetre helps, which you trim off on site.
Handles on the front
- Handleless / push-to-openThe simplest case: a rectangle in width × height of the front.
- Surface-mounted handleMeasure the whole front. With “Cut it yourself”, lay the film over the front and cut around the handle.
- Handle rail at the top edgeMeasure the front up to the rail – the film ends where the surface ends.
- Recessed grip in the panelFree form with a template of the contour – or cut around the recess yourself. Unsure? Send a photo.
Not every cut-out can be represented in the configurator. For complex fronts send us a photo – we tell you which way fits.
Allowance and limits
With “Cut it yourself” an allowance of one centimetre helps, which you trim off on site. With “Exactly to size” we cut exactly the dimensions entered – the measured dimensions are the final dimensions.
The shorter edge may be at most 180 cm – that is the roll width; the longer one is free. Larger surfaces you set up from two strips, the seam at a joint.
Example: Kitchen front 60 × 72 cmfrom €43.20 · Premium Clear, cut it yourselfOpen →Several fronts? How to set up a kitchen project
You do not measure the whole kitchen as one surface. You set up each different front once; identical dimensions are added via the quantity. Each piece comes cut separately.
- Step 1
Measure the fronts
Note down the different dimensions – front A, front B, side panel. Count identical fronts, do not measure them individually.
- Step 2
Configure the cuts
Enter film, shape and dimensions, set the quantity. The “Label” (e.g. “Cabinet door left”) later appears on the piece’s sticker. Then “Configure another cut” for the next front – film and shape stay.
- Step 3
Install at home
The cuts arrive rolled and without a crease, each piece with a sticker. Each front gets its piece – laid on wet, squeegeed, done.
 Every front its own piece, with a label
Kitchen studio or joinery – many fronts for customers? Offers for kitchen studios.
Example: small kitchen run
Three different surfaces, 7 cuts – three configurations. Each row opens the configurator with dimensions, quantity and label; it calculates the same prices, with your dimensions.
| Label | Width × height | Quantity | Price | In the configurator |
|---|---|---|---|---|
| Front A60 × 72 cm · 4 × | 60 × 72 cm | 4 × | €172.80 | Open → |
| Drawer front B60 × 14 cm · 2 × | 60 × 14 cm | 2 × | €16.80 | Open → |
| Side panel58 × 72 cm · 1 × | 58 × 72 cm | 1 × | €41.76 | Open → |
| Total, Premium Clear | €231.36 | |||
Trim yourself, incl. VAT, plus shipping. With Clear: €159.65.
What does my kitchen cost?
Every kitchen is different, so there is no flat price. The price is calculated per cut from film, shape and area and appears in the configurator instantly while you enter the dimensions.
- Clear€69.00 / m²
- Premium Clear€100.00 / m²
- “Exactly to size”+ €9.90 per piece
- Minimum area per cut0.05 m²
All prices incl. VAT, plus shipping.
Configure kitchen filmWhich kitchen surfaces are suitable?
The usual case in the kitchen is the laminated or coated front – smooth, sealed, suitable. Painted fronts too, high-gloss included. Glass and stainless steel are suitable; glass splashbacks and tiled walls are part of that.
Oiled or waxed fronts and oiled solid wood worktops are not suitable: oil prevents adhesion. For slightly textured fronts – fine wood embossing, soft-touch – we test adhesion on a sample.
Not sure what material your front is?
Send us a photo of the front and a detail of the edge – we help you assess it and tell you whether and which film fits.
Send a photoSuitable
- Laminated and coated woodFoil-wrapped and coated kitchen fronts, side panels, laminate boards
- Lacquered woodLacquered fronts, including high gloss and piano lacquer
- Glass and ceramicsGlass splashbacks, tiled splashbacks, glass fronts
- MetalStainless steel fronts and panels, painted sheet metal
Check or not suitable
- Lightly textured surfacesCheck firstFronts with a fine wood-grain texture, soft-touch fronts
- Unknown materialCheck firstNot sure what the front is made of
- Oiled or waxed woodNot suitableOiled solid-wood worktops, waxed fronts
Important in the kitchen: heat, cutting, water
The film helps reduce typical superficial signs of use – scratches, stains, abrasion. It is not protection against everything.
Heat
The film is surface protection, not heat protection. Hot pots, pans and baking trays still belong on a trivet – we will only give a temperature once we have the data sheet.
Cutting
Do not cut directly on the film: it is surface protection, not a chopping board – cuts remain visible. The board stays where it is.
Water
Wiping with a damp cloth and splashes are everyday and fine. Permanently wet surfaces and joints are not where it belongs – the film does not seal anything.
Cleaning
Like the front itself: soft cloth, water, mild cleaner. No abrasives, no blades. Do not wet-clean for 24 hours after installation.
Worktop: only under these conditions
The worktop must be sealed and smooth – laminate, glass, ceramics; oiled solid wood worktops are not suitable. The film takes signs of use from bags, boards and dishes, but does not replace a trivet or a chopping board. The edge of the film sits at the front edge of the worktop; for corner worktops one piece per leg, the seam at the joint. Premium Clear for this.
The full care instructions are under Care & removal.
Worktop above the dishwasher? Read the guide
Installation on kitchen fronts
- 1Clean the frontFree of grease and dry – in the kitchen the most important step.
- 2Align the filmWet the front and the film, lay it on wet – that way it can still be moved.
- 3Apply evenlySqueegee from the centre outwards, working out air and water.
- 4Check the edgesPress down the edges and let it cure for 24 hours.
Handles stay where they are: the film covers the front and is cut around the handle – or comes as a free form with a cut-out.
Full installation guide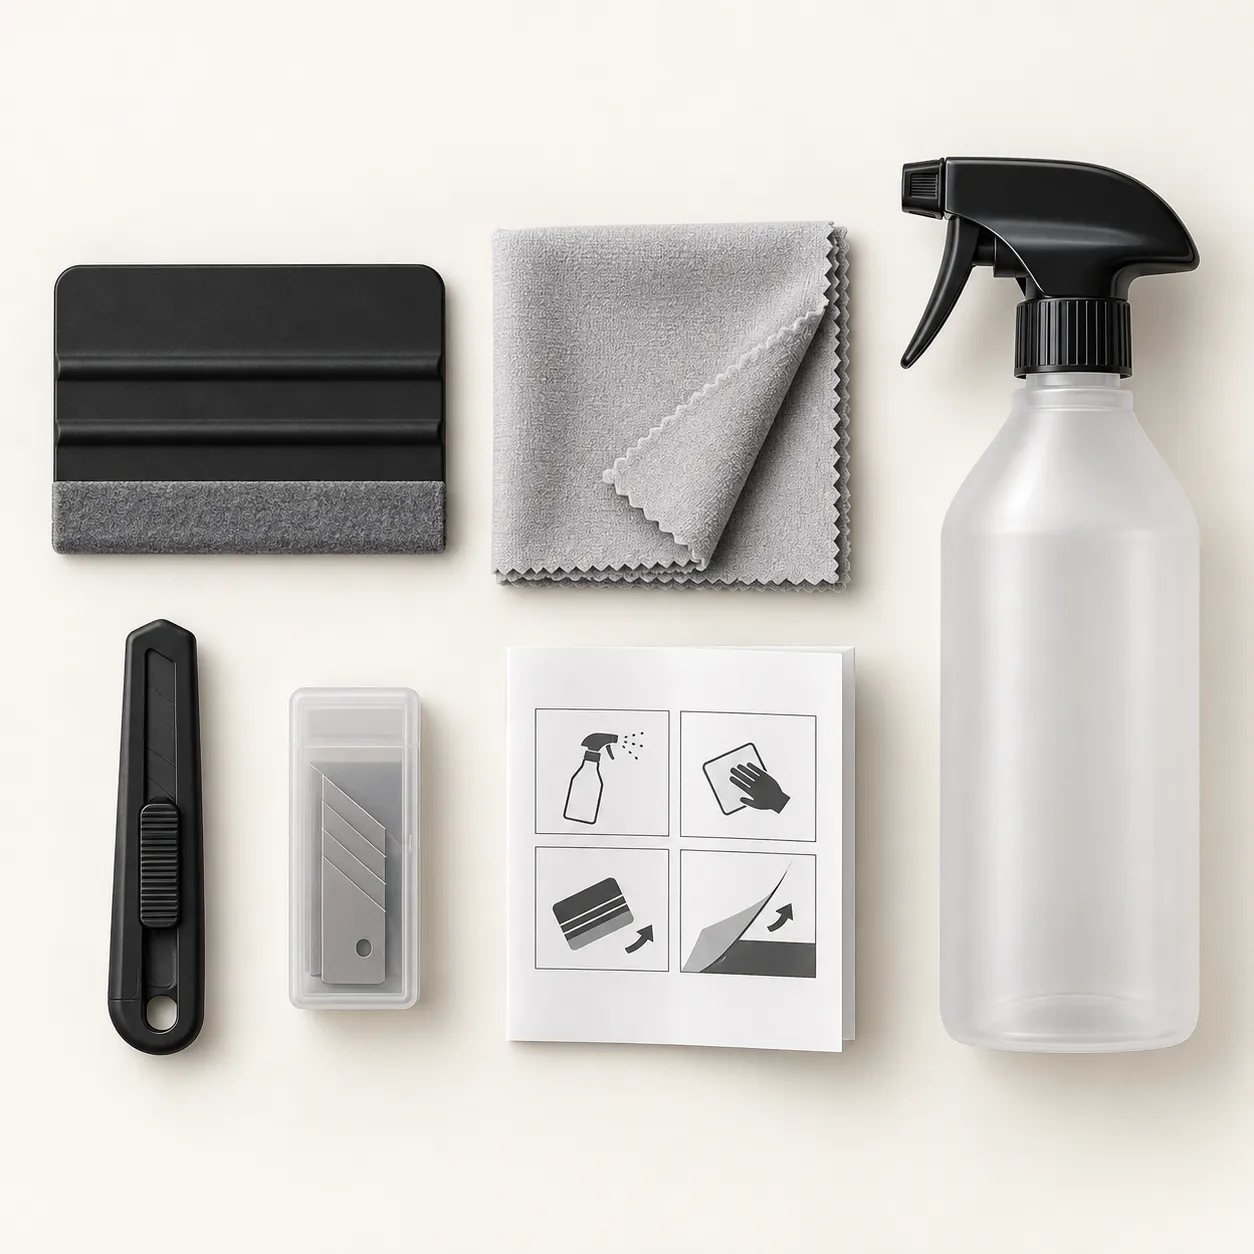
Installing several surfaces?
Application Kit
The most important installation tools together: Squeegee with felt edge, Cleaning cloth (lint-free), Knife with spare blades, Spray bottle for application solution – enough for several fronts. €39.90.
Questions about the kitchen
Which kitchen fronts are suitable?
Smooth, sealed fronts: laminated, coated or painted, high-gloss too, plus glass and stainless steel. Not oiled or waxed fronts; for slightly textured fronts we test adhesion on a sample. Not sure what your front is? Send us a photo.
Clear or Premium Clear for the kitchen?
Clear for normally used fronts, side panels and less used cabinets. Premium Clear for fronts that are used hard every day – at the hob, at the sink, the top drawer – and for suitable worktops.
Which film for a high-gloss kitchen – and what helps against fingerprints?
If the gloss should stay: Premium Clear for fronts that are touched every day – fine scratches disappear again, deeper ones remain. Clear for the other fronts; there fine scratches stay visible too. Fingerprints are visible on both as on the front itself. They only show less on the Matte, and that makes the high-gloss front matte – best checked with the sample set.
Can I use the film on the worktop?
On suitable, sealed worktops such as laminate, glass or ceramics: yes, as protection against signs of use. It does not replace a trivet or a chopping board. Oiled solid wood worktops are not suitable.
Can the film withstand hot pots and pans?
The film is not heat protection. Hot pots, pans and baking trays still belong on a trivet. We will only state a temperature we can stand behind once we have the data sheet.
How do I measure kitchen fronts?
Each front individually at the outer edge: width and height in centimetres, accurate to one millimetre. For rounded corners, also the corner radius in millimetres. In the configurator the height is called “Length”.
What do I do with recessed grips and cut-outs?
Either free form: enter width and height of the front and upload the contour with the cut-out as a template – with “Exactly to size” it arrives exactly like that. Or “Cut it yourself”: film over the whole front, cut-out on site with the cutter.
Can I order several identical fronts?
Yes. Configure once, set the quantity – each piece comes cut separately. For the next front of a different size, “Configure another cut”: film and shape stay, dimensions, quantity and label start afresh.
Shipping, returns and cutting options under Frequently asked questions.
Kitchen measured?
Configure your fronts and surfaces made to measure now – each front once, identical fronts as a quantity.